Capture an area of the screen
Using IcoFX you can capture an area of the screen and create an icon from it.
To capture an area of the screen follow these steps:
1. Start IcoFX
2. Use the "File/Capture..." menu item.
3. On the New Image dialog select the desired size. This size will be used when capturing the screen.
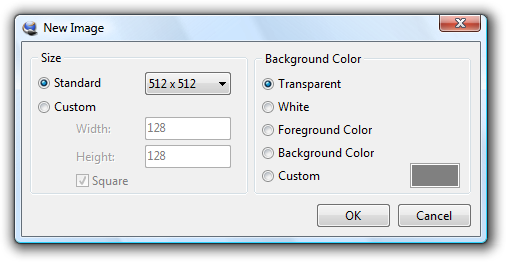
New Image Dialog
4. A semi transparent rectangle will help you to select the area to capture. The size of the rectangle is the size that you selected in the previous step. The screen under the rectangle will be captured.

Capture a 32x32 area of the desktop
Note: You can change the color of the rectangle using the mouse scroll wheel.
5. After you selected the area to capture press the mouse button and the captured area will be displayed in IcoFX as a new image.
6. Save the icon using the "File/Save As..." menu item. On the save dialog choose the desired output format in the "Save as type" combo box.
For more information about the Capture dialog consult the help file of IcoFX.